Tuesday, 24 August 2010
Tuesday, 17 August 2010
Puppet-Making Master Class, Part Two!
Here we go, Folks! Dig out your paintbrushes and find those needles and threads - we're makin puppets!

Here is the final instalment of my fascinating guide to making a Tiddles puppet - just think, if we all make one or two, Tiddles will take over the world! Now our puppet heads are nice and dry, they can be painted to make the little characters really come to life. All you need to do after this,is make a puppet theatre out of an old box and write a little play for your puppets to perform! Seemples!

The first thing you need to do is paint the paper mache head with an undercoat. I used a tester pot of white emulsion. This means when you paint the colours on, you will get a nice, bright coverage and it will look brill!

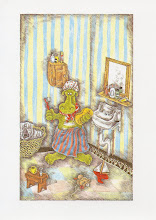
Here are the base coats on with cute little black noses!

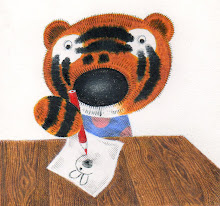
Now for the fun part! Painting the detail on the little faces - I used a fine paintbrush to do this, as you can control the furry-ness better. I also used good quality acrylic paint, but poster paint or squeezy paint would do the job! For the eyes, I used stick-on plastic eyes, as they move around and look quite realistic. If you don't have any, just paint the eyes where you want them.

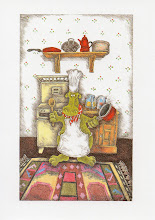
Now you need to make the glove part of the puppet - the bit where you put your hand! I have used felt for mine, but you could use any sort of fabric, as long as it's something which doesn't fray too much. I hand-stitched mine, but you could easily use a sewing machine if you have one. Remember to make a paper pattern first, roughly the size of your hand - you need to make sure your hand will fit inside and not be squashed!

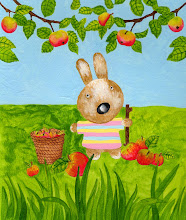
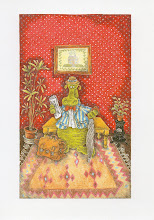
Here is the finished Tiddles, made from recycled newspaper and a bit of felt!
Thursday, 5 August 2010
Liz's Puppet-Making Master Class, Part One
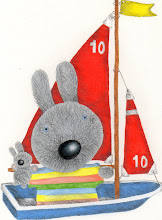
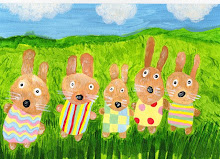
My latest project is Fluffville Films - puppet shows, written and created by Secondary School Students, aiming to raise young peoples' energy-awareness. The productions will feature Tiddles and the Stepford Bunnies, and possibly an Energy-Saving Piglet if anyone has a mind to make one! I will be working in six schools, with older kids this time and we will be using a professional film-maker to produce sweet little Fluffville DVDs! If any of you want to see how to make a Tiddles or Bunny puppet, here's how!

The first thing you need to do is blow your balloons up to a sort of puppet-head-size, so not too big! The best kind of fixing method is PVA glue, mixed with water - not too much water, about 1 part glue to 3 parts water seems to work fine. You can use wall-paper paste, or even flour and water if you have no posh glue!

Make sure you cover the balloon evenly with strips of torn newspaper. Don't make the strips too big and it's best to rip the paper, rather than cut it with scissors, it seems to lock together better.

Now add cardboard ears and stick them in place using masking tape - don't worry that it all looks a bit scruffy and random at this point, it will all be painted later. A good way to make a nose is by squidging some paper tissue with glue. It becomes quite soft and you can mould it into whatever shape you need. You then just paper mache over the nose to make it neat-ish.

The next step is to carefully paper-mache around the cardboard tube where you put your finger, ensuring it feels nice and secure. Make sure the tube is wide enough to fit your finger!

Here are the puppet-heads with their final coats of paper mache. They need to dry thorughly before they can be painted. Be sure to tune in next time to see the finished Tiddles and Bunny and how to make the little puppet glove!
Subscribe to:
Posts (Atom)